Have you ever found yourself struggling to maintain a perfectly level garden? You’re not alone.
Whether you’re a seasoned gardener or just starting, achieving that flawless, even look can be daunting. But here’s the secret: it all starts with the right tools. Imagine transforming your garden into a beautiful, harmonious space with ease. Sounds amazing, right?
In this guide, you’ll discover how to shape a garden tool level to make your gardening experience both efficient and enjoyable. You might think this is a minor detail, but it’s the key to preventing the frustration of uneven paths and sloping beds. Picture the satisfaction of looking at your garden, knowing it’s perfectly level. Ready to dive in and learn the tricks of the trade? Let’s get started!
Choosing The Right Tools
Choosing the right tools for shaping a garden tool level is like setting the foundation for a masterpiece. The tools you select can make or break the efficiency and precision of your gardening tasks. By opting for the right equipment, you ensure that your garden remains a lush haven of beauty and productivity. But how do you decide which tools are right for you?
Essential Tools For Experts
Even if you’re not a gardening expert, understanding what seasoned gardeners rely on can guide your choices. Experts often favor tools that offer versatility and durability. A high-quality level, for instance, can be indispensable for ensuring your garden beds are perfectly aligned. Additionally, consider investing in ergonomic designs that minimize strain and maximize comfort.
- Garden spades with reinforced handles
- Precision pruners for detailed work
- Heavy-duty wheelbarrows for easy transport
These tools not only offer longevity but also enhance your gardening experience by simplifying tasks. Are you equipped with the essentials to elevate your gardening skills?
Selecting Quality Materials
The materials used in your tools can greatly affect their performance and lifespan. Opt for stainless steel for its rust-resistance and strength; it’s perfect for enduring the elements. Wooden handles, particularly those made of ash or hickory, provide a comfortable grip while adding a touch of elegance to your tool collection.
Look for tools with reinforced joints and quality craftsmanship. This ensures they withstand heavy use without compromising functionality. In your quest for quality, remember, investing in superior materials often means fewer replacements and repairs in the future.
Are your current tools crafted from materials that promise durability and efficiency?

Credit: www.youtube.com
Understanding Tool Anatomy
Understanding tool anatomy helps shape a garden tool level effectively. Learn about handle types and blade designs for better precision. Proper sharpening techniques enhance performance and ease of use.
Understanding how a garden tool functions requires learning its anatomy. Each tool has unique parts, serving a specific purpose. Knowing these parts helps in proper usage and maintenance, ensuring your garden thrives.Parts Of A Garden Tool
Garden tools have several parts. Each part plays a role in functionality:- Handle:Provides grip and leverage. Made of wood, plastic, or metal.
- Head:The working part. It interacts with soil or plants.
- Fastener:Connects the head to the handle. Ensures stability.
Functionality And Design
The design affects how the tool works. Ergonomic handles reduce hand strain. Lightweight materials make it easier to use. Different shapes suit various tasks. For example, a pointed shovel digs deep holes. A flat shovel moves dirt. Each design serves a distinct purpose. Understanding these differences helps choose the right tool. Proper tool design enhances gardening efficiency. It minimizes effort and maximizes results.Advanced Sharpening Techniques
Sharpening garden tools involves precise techniques. Use a file or sharpening stone for even edges. Consistent pressure ensures a sharp, durable blade.
Sharpening your garden tools is more than just running a file over a blade. Advanced sharpening techniques can extend the life of your tools and enhance their performance. Whether you’re using hand sharpening methods or power tools, knowing the right approach is crucial.Hand Sharpening Methods
Hand sharpening is a time-tested technique that provides you with control and precision. Start by securing your tool in a vice grip to prevent any movement. Use a whetstone or a sharpening file, moving it along the blade’s edge at a consistent angle. Remember to maintain the original bevel angle of the blade to ensure a sharp and functional edge. It’s also important to wear protective gloves to avoid any accidents. Regularly check the sharpness by slicing through a sheet of paper or a leaf—this simple test can help you gauge your progress.Using Power Tools Effectively
Power tools can make sharpening faster and more efficient, but they require a steady hand. Equip yourself with a bench grinder or a rotary tool fitted with a sharpening attachment. Always adjust the tool’s speed to prevent overheating, which can damage the blade. Keep a bucket of water nearby to cool down the blade occasionally. This prevents the metal from losing its temper and keeps the edge strong. Balancing speed with precision is key, so take your time to avoid over-grinding the blade. Sharpening your garden tools doesn’t have to be a daunting task. Have you ever found a new technique that works wonders for you? Share your thoughts and join the conversation.Precision Grinding Methods
Shaping a garden tool level requires precision grinding. Use a steady hand and consistent pressure for even edges. Make sure to maintain the tool’s original angle for best results.
Precision grinding methods are vital for shaping garden tools with accuracy. They ensure the tools function effectively and last longer. The grinding process involves carefully refining the tool’s surface. It helps create sharp edges and smooth finishes. This enhances the tool’s performance in the garden. Let’s explore how to achieve optimal angles and maintain consistency during grinding.Achieving Optimal Angles
The angle of the blade is crucial for cutting efficiency. Adjust the tool to the correct angle before grinding. Use a protractor or angle guide for precision. Hold the tool steady to avoid slips. Keep the grinding wheel moving evenly across the surface. This ensures a uniform angle throughout the blade. A sharp, well-angled tool cuts cleanly and saves effort.Maintaining Consistency
Consistency in grinding ensures balanced performance. Start by securing the tool firmly. Use a jig to hold it in place. This prevents uneven grinding. Move the grinding wheel at a constant speed. Avoid pressing too hard on the tool. This can cause uneven surfaces. Check your progress frequently. This ensures the grind remains consistent across the tool. A consistent grind leads to smoother cuts and easier use.Balancing And Alignment
Shaping a garden tool level ensures smooth gardening tasks. Begin by inspecting the tool for any imbalance. Adjust the handle and blade alignment for optimal performance. Regular maintenance keeps tools effective and easy to use.
Balancing and alignment are crucial when shaping a garden tool level to ensure accuracy and ease of use. A well-balanced tool prevents unnecessary strain on your hands and arms, allowing you to work longer with less fatigue. Proper alignment ensures that each stroke is effective, making your gardening tasks more efficient.Correcting Imbalances
Identifying the imbalance is the first step. Hold your garden tool lightly and see if it tips to one side. If it does, it’s unbalanced. To fix this, you can adjust the weight distribution. Consider adding or removing weight from specific areas. For example, wrapping a small amount of tape around the handle could help balance a top-heavy tool. Regularly check the balance during use. Imbalances can develop over time, especially with frequent use.Ensuring Proper Alignment
The alignment of your garden tool affects its precision. Check the tool’s edges and surfaces. They should be straight and even. If misalignment is found, use a file or sharpening stone to correct it. Align the blade or edge with consistent, even strokes. Test the alignment by using the tool on a small patch of soil. If it doesn’t perform as expected, reassess and adjust again. Remember, a well-aligned tool saves time and energy. It allows you to focus on gardening rather than wrestling with your equipment.Polishing And Finishing
Polishing and finishing enhance the shape of a garden tool level. Smooth surfaces ensure precise measurements and easy handling. Regular maintenance extends the tool’s lifespan and improves functionality.
Polishing and finishing your garden tools is not just about aesthetics; it’s about functionality and durability. A well-polished tool not only looks better but also performs more efficiently. By investing a little time in this process, you ensure your tools remain reliable and ready for any gardening task.Smoothing Rough Edges
Start by examining your tools for any rough or jagged edges. These can occur from regular use and can hinder your tool’s performance. Use a fine-grit sandpaper or a metal file to gently smooth out these imperfections. Be sure to hold the tool steady and work in one direction for a consistent finish. Imagine the ease of use with a tool that glides effortlessly through soil or branches. It’s worth the effort to make sure your tools are as smooth as they can be.Enhancing Tool Longevity
After smoothing, consider applying a protective coating to extend the life of your tools. A thin layer of oil, such as mineral or linseed oil, can prevent rust and corrosion. Simply apply with a cloth, ensuring even coverage over the metal parts. Regular maintenance like this can significantly extend the lifespan of your gardening equipment. Think about how satisfying it will be to use a tool that feels brand new season after season. Are there other tools in your shed that could benefit from this care? By taking these steps, you not only improve the condition of your tools but also enhance your gardening experience.Safety Precautions
Sharpening garden tools safely involves wearing protective gloves and eye gear. Ensure tools are secured while shaping. Use proper sharpening equipment to avoid accidents and maintain tool efficiency.
Ensuring safety while shaping a garden tool level is crucial. Accidents can occur without proper precautions. Safety measures protect you and make the task easier. Follow these guidelines to minimize risks.Protective Gear
Wear gloves to shield your hands from sharp edges. Gloves provide a better grip on tools. Safety goggles protect your eyes from flying debris. A dust mask prevents inhaling harmful particles. Wear sturdy shoes to protect your feet from heavy tools. Protective gear reduces injury risks significantly.Safe Handling Practices
Inspect tools for damage before use. Loose handles or cracks can cause accidents. Keep your work area clean and organized. Clutter increases the risk of tripping or dropping tools. Use both hands to handle heavy tools. This ensures better control and balance. Store tools safely after use to prevent accidents. A well-maintained tool is safer and more efficient.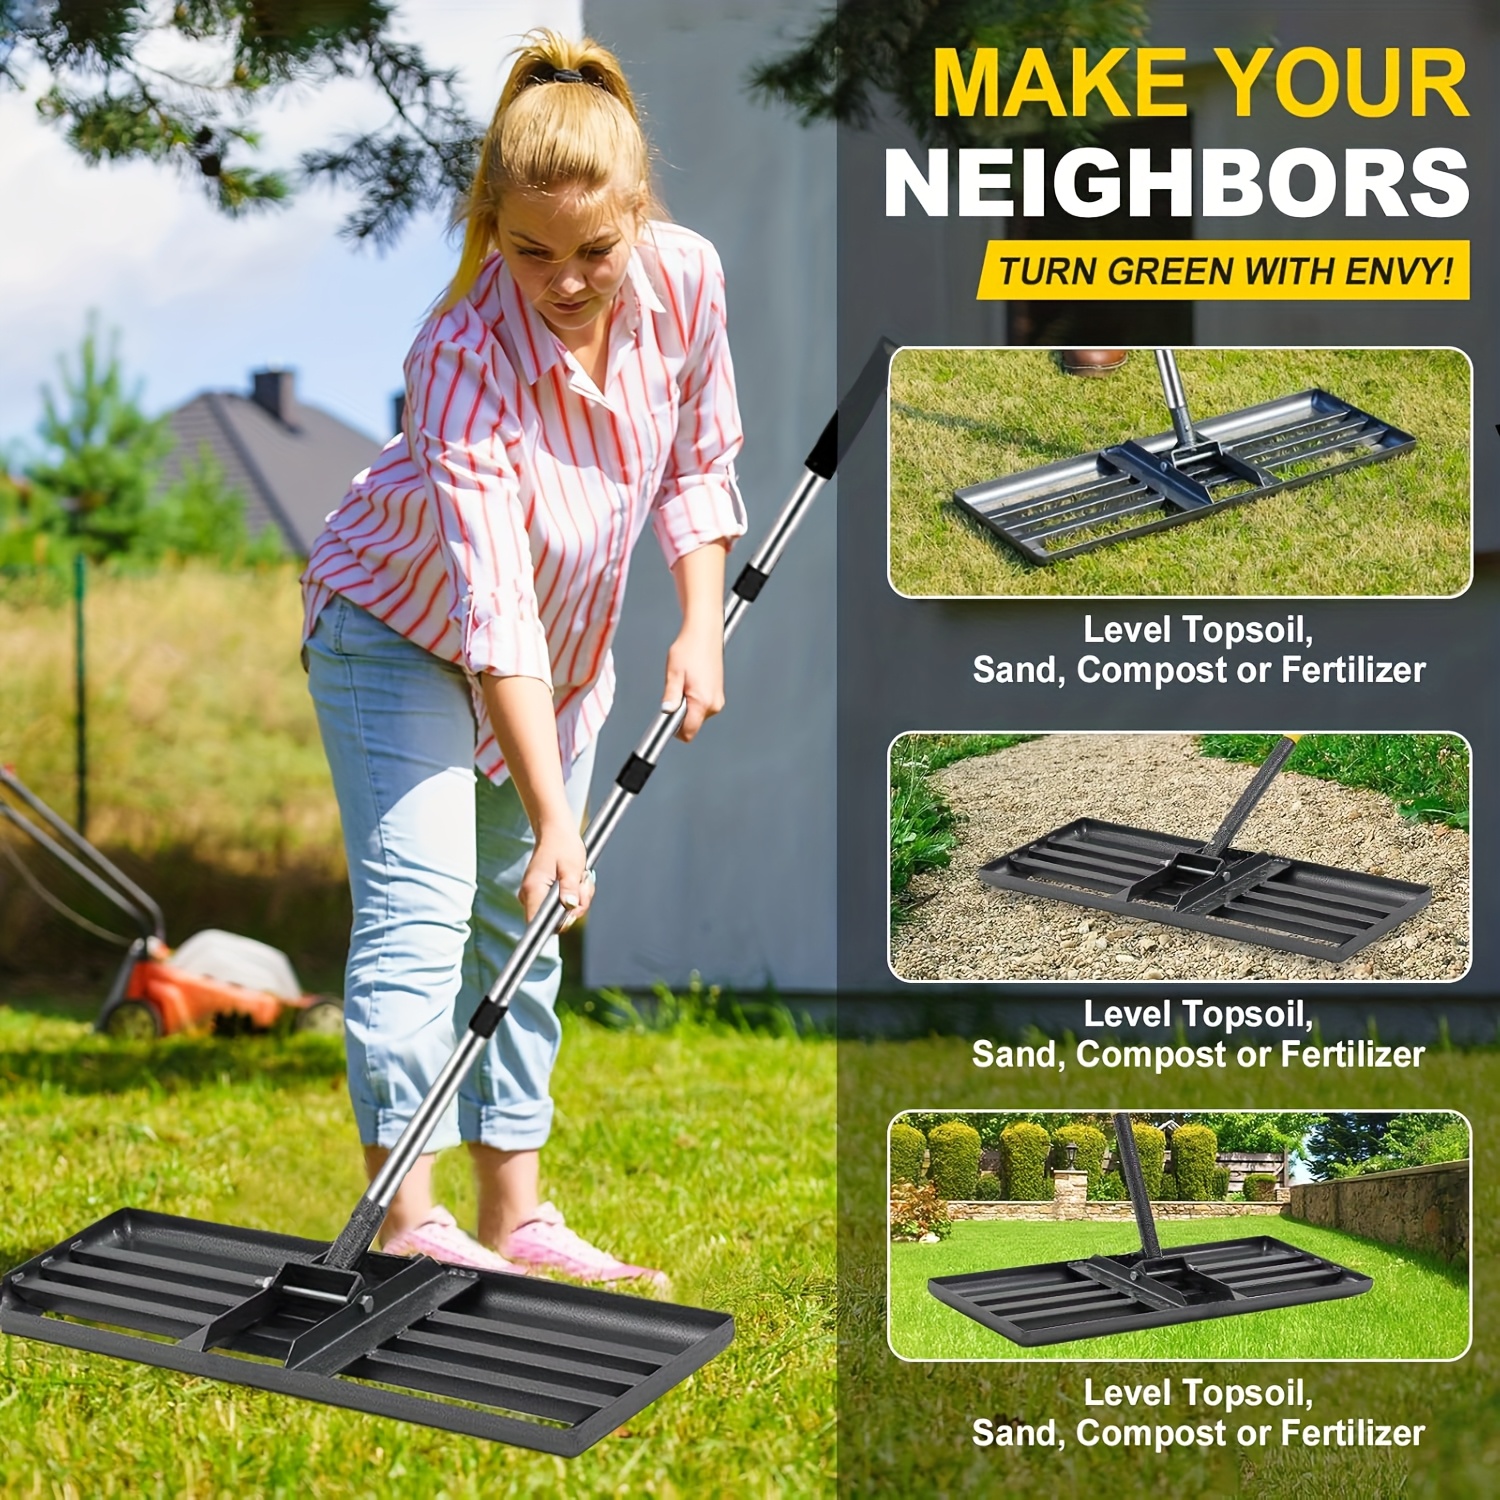
Credit: www.temu.com
Maintenance And Care
Sharpening a garden tool level requires precision and regular care. Use a file to smooth the edges and ensure a balanced surface. Regular checks for rust and cleanliness maintain efficiency and durability.
Maintaining and caring for your garden tools is essential. It ensures they remain effective and last longer. Proper care reduces the risk of damage and maintains performance. Here’s how you can keep them in top shape.Regular Cleaning Routines
Clean your garden tools after each use. Remove dirt and debris using a stiff brush. Rinse with water if necessary, then dry thoroughly. This prevents soil buildup and keeps tools functioning well. Store them in a dry place to avoid moisture exposure. Routine cleaning extends the lifespan of your tools.Preventing Rust And Corrosion
Rust is a common enemy of metal tools. Apply a light coat of oil after cleaning to prevent rust. Use a cloth to spread the oil evenly over the metal surfaces. This creates a barrier against moisture. Check tools regularly for any signs of rust. Sand off any rust spots with fine-grit sandpaper. Then, reapply oil to protect the surface. Keep tools in a dry, well-ventilated area to further prevent corrosion.
Credit: www.amazon.com
Frequently Asked Questions
How Do I Level Garden Tools?
Start by placing the tool on a flat surface. Use a spirit level to check its alignment. Adjust the tool’s handle or head until it’s perfectly balanced. Ensuring your garden tools are level enhances efficiency and eases gardening tasks. Regular checks help maintain their effectiveness over time.
What Tools Help Shape Garden Equipment?
Essential tools include a file, hammer, and spirit level. A file sharpens and shapes blades, while a hammer adjusts handles. A spirit level ensures the tool’s alignment. Utilizing these tools keeps garden equipment functional and efficient, making gardening tasks easier and more enjoyable.
Can Leveling Improve Gardening Efficiency?
Yes, leveling ensures tools work optimally. Balanced tools distribute force evenly, reducing effort. This improves accuracy and efficiency in gardening tasks. Regular maintenance prevents wear and tear, prolonging tool lifespan. Efficient tools help you achieve better results in less time, enhancing your gardening experience.
How Often Should I Level My Garden Tools?
Level your garden tools every few months. Regular checks ensure they remain effective and safe to use. Adjustments prevent damage and improve performance. Frequent maintenance prolongs the lifespan of tools, making gardening tasks more efficient and enjoyable throughout the seasons.
Conclusion
Shaping a garden tool level is straightforward. It requires focus and patience. Start with a clear plan. Gather your materials and tools. Measure twice, cut once. Ensure every angle is precise. Check for stability and balance. A well-shaped tool enhances gardening efforts.
It saves time and energy. Your garden benefits from well-maintained tools. Practice regularly to improve skills. Share tips with fellow gardeners. Enjoy the process and see results flourish. A shaped tool leads to a happier garden. Keep learning and experimenting.
Your garden will thank you.