Imagine stepping into your garden, ready to tackle the day’s tasks, only to find your favorite tool’s handle splintered or cracked. Frustrating, right?
You’re not alone. Many gardeners face this dilemma, but there’s a simple solution that restores your tools and saves you money. Learning how to replace wooden garden tool handles not only revives your gardening gear but also empowers you with a sense of accomplishment.
Imagine the satisfaction of repairing your tools with ease, transforming them into reliable companions once again. In this guide, you’ll discover how straightforward it is to replace those worn-out handles, ensuring your tools are always ready to meet your gardening needs. Dive in to learn how you can master this essential skill and keep your garden thriving.
Choosing The Right Replacement Handle
Replacing a wooden garden tool handle is a straightforward task, but choosing the right replacement can make all the difference. The handle you select will determine the tool’s durability, comfort, and effectiveness. Let’s dive into the key aspects you need to consider to make the best choice for your gardening needs.
Types Of Wood
Not all woods are created equal when it comes to tool handles. Hardwoods like ash, hickory, and oak are popular for their strength and resilience. Each type offers unique benefits: ash is light and absorbs shock well, hickory is exceptionally strong, and oak is durable and long-lasting.
Softwoods like pine are generally cheaper but may not withstand heavy use. Consider how often you use your tools and the conditions they endure. Would you prefer a handle that offers strength or one that’s more affordable?
Size And Fit Considerations
The size of the replacement handle is crucial for both comfort and efficiency. A handle that is too thick or too thin can lead to fatigue and discomfort during use. Measure the diameter of your existing handle to find a suitable match.
Length is equally important. A handle that’s too long may be cumbersome, while one that’s too short could reduce leverage. Think about your typical tasks and choose a length that provides the best balance for your activities.
Ensuring a snug fit is essential. The handle should fit securely into the tool head without wobbling. Test the fit before finalizing your purchase to avoid any surprises during your next gardening session.
Gathering Necessary Tools And Materials
Gather tools like a hammer, screwdriver, and pliers. Choose suitable materials like wood handles and sandpaper. Ensure all items are within reach for a smooth replacement process.
Gathering the necessary tools and materials is the first step in replacing wooden garden tool handles. This process ensures that you have everything you need at your fingertips, making the task smoother and more efficient. Imagine starting a task only to realize midway that you’re missing a crucial piece of equipment. Frustrating, right? Let’s make sure that doesn’t happen to you.Essential Tools
Before you dive into the project, gather the essential tools to make your handle replacement a breeze. You’ll need a hammer, a saw, a chisel, and some sandpaper. Each tool plays a crucial role—like the chisel for removing the old handle and the saw for cutting the new one to size. Additionally, keep a screwdriver handy to tighten any screws if your tool has a metal collar. A measuring tape is also invaluable to ensure accuracy when cutting the new handle. Having these tools ready will streamline the process.Safety Gear
Don’t overlook safety gear. Protecting yourself is just as important as the tools you use. Safety goggles are essential to shield your eyes from flying wood chips and dust. Consider using gloves to protect your hands from splinters and blisters. If your project involves power tools, ear protection is a good idea to prevent hearing damage. Your safety should always come first, so equip yourself accordingly. Are there any tools or safety gear you often forget when starting a DIY project? Having a checklist might be the solution you need. Preparing ahead can turn a potential headache into a rewarding experience, allowing you to focus on the satisfaction of a job well done.Removing The Old Handle
Loosen the screws or bolts on the old handle using a screwdriver or wrench. Carefully detach the handle from the tool, ensuring no damage occurs to the metal parts. Clean the tool head and prepare it for the new handle installation.
Removing the old handle of a garden tool can seem like a challenging task. With the right approach, it becomes manageable and straightforward. This process is crucial to ensure a secure fit for the new handle, enhancing the tool’s durability and ease of use. Follow these steps to successfully remove the old handle.Loosening The Fasteners
Start by examining the tool for screws or nails. These fasteners hold the handle in place. Use a screwdriver to loosen the screws. If nails are present, a claw hammer will help in prying them out. Be gentle to avoid damaging the tool’s body. Sometimes, rust makes fasteners stubborn. Apply a few drops of penetrating oil. Wait for a few minutes, then try again.Extracting The Handle
Once fasteners are removed, focus on extracting the handle. Grasp the handle firmly. Wiggle it gently to loosen it from the tool’s body. If the handle is stuck, tapping lightly with a rubber mallet can help. Ensure you tap around the handle’s base. This prevents damaging the tool’s head. If the handle remains stubborn, consider cutting it. Use a saw for precision. After cutting, remove the pieces carefully. Ensure the tool’s body is clean for the new handle.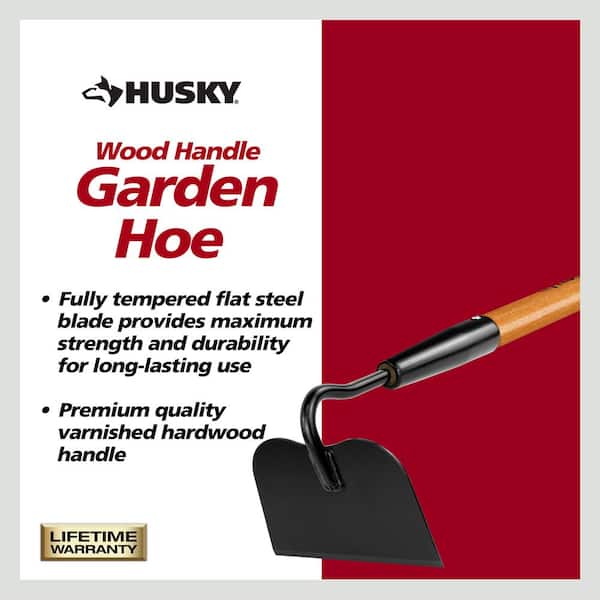
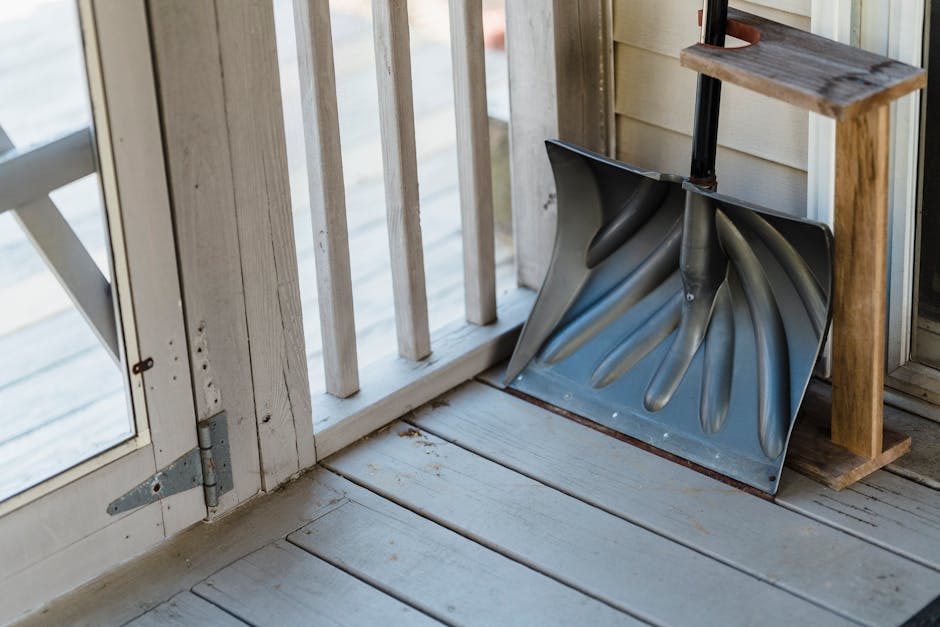
Credit: theraleighbeergarden.com
Preparing The New Handle
Crafting a new handle requires attention to detail. Carefully measure the replacement handle to ensure a perfect fit. Sand the handle smoothly for a comfortable grip before attaching it securely to the tool.
Preparing the New Handle Replacing a wooden garden tool handle starts with choosing the right replacement. Ensure it’s sturdy and matches the tool’s size. Once you have the handle, prepare it for installation. This involves sanding, shaping, and applying finishing touches for durability and comfort.Sanding And Shaping
Start by sanding the new handle. Use medium-grit sandpaper to smooth rough areas. This prevents splinters and enhances grip. Shape the handle for comfort. Focus on areas that touch your hands most. Gradually refine its form until it feels good in your grasp.Finishing Touches
Apply a wood finish to protect against moisture. Choose an oil or varnish suitable for outdoor use. This prolongs the handle’s life. Let it dry completely before attaching it to the tool. Consider adding a rubber grip for extra comfort. This improves usability and reduces hand fatigue.Attaching The New Handle
Secure the tool head tightly on a stable surface. Insert the new handle into the tool head’s socket. Tap gently to ensure a snug fit.
Attaching a new handle to your garden tool is a rewarding task. It extends the tool’s life and restores its usability. This process requires careful attention to ensure the handle is secure and functional.Securing With Fasteners
Start by gathering necessary fasteners like screws or bolts. Choose fasteners that match the tool’s original design. Insert the fasteners through pre-drilled holes in the handle. Use a screwdriver or wrench to tighten them securely. Avoid over-tightening to prevent damage. Ensure the fasteners sit flush with the handle’s surface.Ensuring A Tight Fit
Check the handle’s alignment with the tool’s head. Make sure it fits snugly without gaps. If needed, adjust the fit with a rubber mallet. Gently tap to align the handle perfectly. Double-check the fasteners for tightness. Wiggle the handle to test stability. Re-tighten if there is any movement.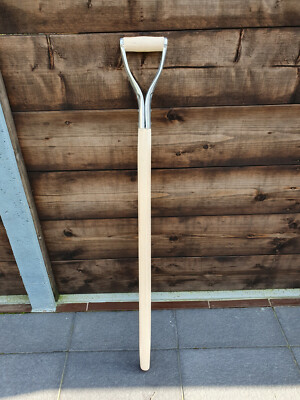
Credit: www.ebay.com
Testing And Adjustments
Testing and Adjustments Ensure the new handle fits snugly into the tool’s socket. Tighten any screws or bolts to secure it. Check the balance and grip to ensure comfortable use.
Replacing a wooden handle on a garden tool is just the beginning. Testing and adjustments ensure your tool is ready for action. Once the new handle is in place, it’s time to make sure everything is secure and comfortable for use. This step is crucial, not just for functionality, but for safety as well.Checking For Stability
Before you start using your newly repaired tool, give it a thorough check. Grip the handle and mimic the movements you’d typically use. Does it feel secure? Ensure there are no wobbles or loose parts. A firm connection between the handle and the tool head is essential. If you feel any looseness, it’s better to address it now than risk an accident later.Making Final Adjustments
If you notice any instability, don’t fret. Sometimes, the handle may need slight sanding for a perfect fit. Use sandpaper to even out any rough edges or tight spots. Secure the handle with additional wedges or screws if necessary. This step can make a significant difference in both comfort and safety. Ask yourself: Does the tool feel natural in your hands? Your comfort is as important as the tool’s functionality. Taking the time for these adjustments ensures your gardening experience will be as smooth as possible.Maintenance Tips For Longevity
Replacing wooden garden tool handles ensures durability. First, remove the old handle carefully. Attach a new handle securely, using screws or nails. Regular inspection and maintenance prevent damage, extending the tool’s lifespan.
Keeping your wooden garden tool handles in top shape is not just about aesthetics. Proper maintenance can significantly extend their lifespan, ensuring your tools remain reliable for years. With a few simple practices, you can prevent decay and improve performance.Regular Inspections
Conduct frequent checks on your tool handles. Look for signs of cracks, splits, or looseness. Catching these issues early prevents further damage. Once, I ignored a small crack, thinking it was harmless. Weeks later, the handle snapped during use. A simple inspection could have saved it.Protective Treatments
Applying protective treatments is crucial for wooden handles. Use linseed oil or a specialized wood conditioner to keep the wood hydrated. This prevents drying and cracking. Consider sealing the wood with a varnish or shellac for additional protection against moisture. A sealed handle withstands harsh weather better. By maintaining your tool handles, you not only save money but also enhance your gardening experience. What small changes can you make today for a better garden tomorrow?
Credit: www.amazon.com
Frequently Asked Questions
How To Remove Old Tool Handles Safely?
To remove old handles, use a hammer and chisel to loosen the joint. Tap gently to avoid damaging the tool. Ensure you wear protective gloves and goggles for safety. Once loosened, pull the handle out carefully. Dispose of it properly, or consider recycling if possible.
What Materials Are Best For Replacement Handles?
Wooden handles made from ash, hickory, or oak are ideal. These woods are durable, shock-resistant, and provide excellent grip. They are also readily available and affordable. Ensure the wood is treated to prevent rot and insect damage. Consider ergonomic designs for better comfort and efficiency.
Can I Replace Handles Without Professional Help?
Yes, you can replace handles yourself with some basic tools. Follow a step-by-step guide for best results. Ensure you have the right replacement handle and tools like a hammer, chisel, and drill. Take your time to fit the new handle securely and test its stability.
How Do I Maintain Wooden Handles?
Regular maintenance involves cleaning and inspecting for cracks. Apply linseed oil to prevent drying and cracking. Store tools in a dry, cool place to avoid moisture damage. Check handles periodically for signs of wear and replace them when necessary to ensure safety.
Conclusion
Replacing wooden garden tool handles is simple and rewarding. With these steps, you ensure tools last longer. Always choose quality wood for new handles. It makes a big difference. Secure the handle tightly to avoid accidents. Regular maintenance keeps your tools in top shape.
Sand and oil the wood to protect it. Caring for your tools saves money and time. Plus, it feels great to use well-maintained tools. Now, enjoy your gardening with confidence and ease.