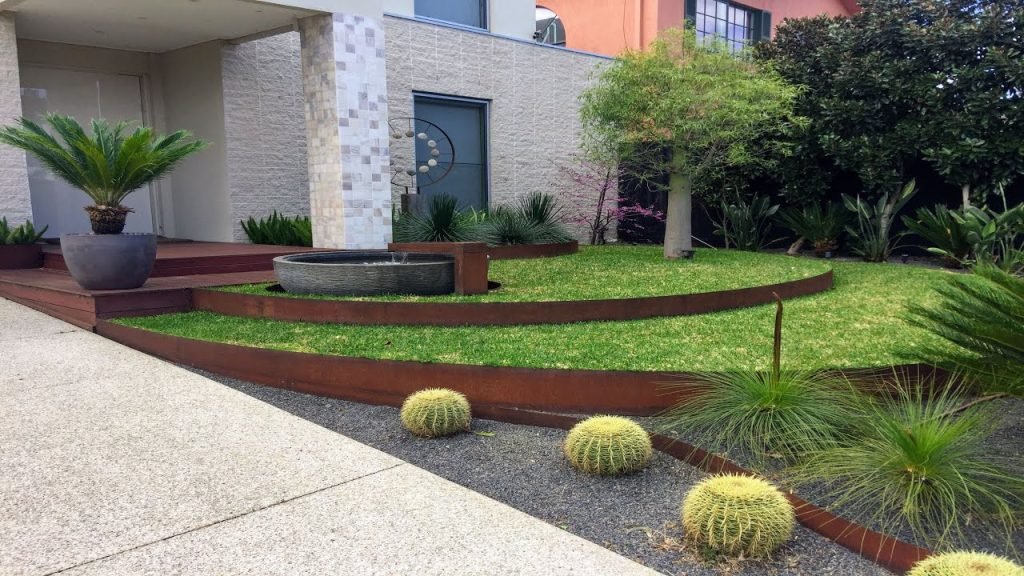
Are you dreaming of a flowerbed that looks like it belongs in a magazine? Designing a brick garden edge in a sloped flowerbed might be the secret ingredient to achieving that picture-perfect look.
Imagine a tidy, defined space where your flowers thrive without spilling over onto your pathway. Picture the elegance and charm that a well-crafted brick edge can add to your outdoor space. You might think that tackling a slope with bricks is a challenge, but it’s easier than you imagine.
With the right guidance, you’ll find that creating a beautiful, functional garden edge is entirely within your reach. We’ll break it down step-by-step, making sure you have all the tips and tricks you need to succeed. Ready to transform your garden into an oasis? Let’s get started!
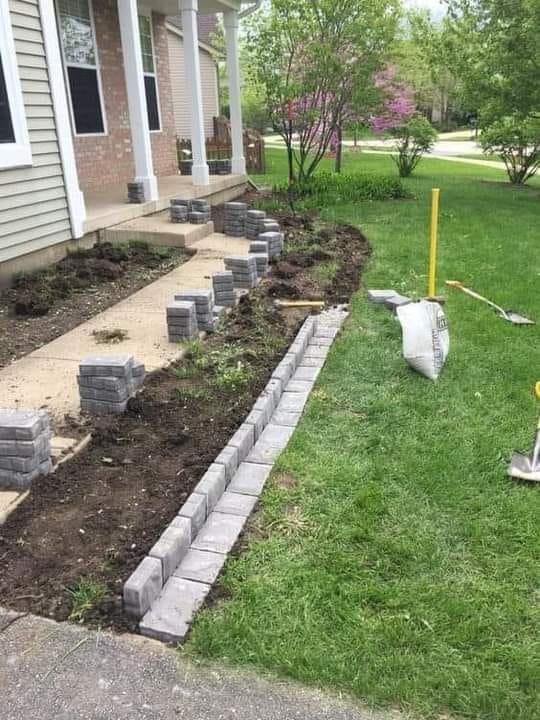
Credit: www.facebook.com
Planning Your Garden Edge
Creating a brick garden edge in a sloped flowerbed presents a unique opportunity to enhance your garden’s aesthetics while addressing functional needs. Planning your garden edge is crucial, as it sets the foundation for a successful design that complements your landscape. A well-thought-out plan ensures that your garden edge not only adds visual appeal but also effectively manages the slope, preventing erosion and maintaining the integrity of your flowerbed.
Assessing The Slope
Before you start, take a moment to assess the slope of your flowerbed. Is it steep or gently sloping? Understanding the gradient is vital for determining the stability and design of your garden edge. You might even consider using a level or measuring tape to get precise measurements. Knowing the slope will guide your choice of bricks and the design layout, ensuring a seamless fit.
Choosing The Right Bricks
The type of bricks you choose can make a significant difference in both appearance and functionality. Consider bricks that are durable and resistant to weather changes. Will you go for classic red bricks or opt for something more modern like stone bricks? Think about how they will blend with your garden’s overall theme. Remember, the right bricks should enhance your garden’s beauty while standing up to the demands of a sloped terrain.
Design Layout Considerations
When it comes to layout, think creatively. How can you arrange the bricks to complement the natural flow of the slope? Perhaps a staggered pattern could add depth and interest. The layout should address practical issues like water runoff, directing it effectively to avoid pooling. Use your creativity to design a garden edge that not only looks stunning but also serves a purpose. Is there a way to incorporate plants between the bricks for added charm?
Your garden edge can transform your sloped flowerbed into an artistic focal point. With careful planning, you’ll create a space that’s both functional and visually captivating. What unique touches will you bring to your garden design?
Preparing The Site
Prepare your site by clearing debris and leveling the slope to create a stable foundation. Ensure proper drainage and measure the area to guide brick placement accurately.
Designing a brick garden edge in a sloped flowerbed begins with proper site preparation. Before the beauty of neatly arranged bricks can enhance your garden, it’s crucial to lay a solid foundation. This ensures your edging is not only visually appealing but also durable and functional. Let’s dive into the essential steps you need to take to prepare your site effectively.Clearing The Area
Begin by removing any debris, weeds, or old edging materials from the area. This might seem straightforward, but it’s a vital step to ensure your new edge sits flush and secure. Use a garden hoe or a spade to dig up any stubborn roots or plants. Is there a hidden rock or a sneaky root? Addressing these now saves you a lot of headaches later.Marking The Edge Line
Next, outline where your brick edge will lie. Use a garden hose or a string to shape the curve or straight line you envision for your flowerbed. This visual guide helps you see the flow of your design. A simple tip: step back and view the line from different angles to ensure it complements your garden’s natural slope. Does the line guide the eye smoothly through the landscape?Measuring And Cutting Bricks
Once your line is marked, it’s time to measure the length you need to cover with bricks. Use a tape measure to determine the total length, then calculate how many bricks you’ll need based on their size. Cutting bricks might sound daunting, but a masonry chisel and hammer make the job straightforward. Always wear safety goggles to protect your eyes from flying chips. Have you ever felt the satisfaction of a perfect cut? It’s well worth the effort to fit those pieces snugly into your design. Preparing the site might not be the most glamorous part of designing a brick garden edge, but it’s undoubtedly the most crucial. By taking the time to clear, mark, and measure, you’re setting the stage for a stunning and enduring garden feature. Ready to see your vision come to life?Building The Foundation
Creating a brick garden edge on a sloped flowerbed enhances its beauty and prevents soil erosion. Start by planning the layout, then dig a trench following the slope’s contour. Lay bricks securely, ensuring they align with the slope for a neat appearance.
Building a strong foundation is key to a durable brick garden edge. A well-prepared base ensures stability and longevity, especially in a sloped flowerbed. This process involves careful planning and execution, focusing on proper excavation and drainage.Excavating The Trench
Start by marking the desired path of your brick edge. Use a garden hose or string for accuracy. Dig a trench along this path, about 6 inches deep and 12 inches wide. This depth allows room for both gravel and the bricks. The trench should follow the slope of the flowerbed. Ensure the bottom is level for even brick placement.Adding A Gravel Base
A gravel base provides stability and drainage. Spread a 2-3 inch layer of gravel evenly across the trench. Use a tamper tool to compact the gravel. This compaction prevents shifting over time. Check the gravel layer with a level, ensuring evenness throughout.Ensuring Proper Drainage
Good drainage prevents water buildup, which can damage the structure. Add a slight slope to the gravel base. This guides water away from the bricks. Consider installing a drainage pipe if the area is prone to heavy rain. Proper drainage maintains the integrity of your garden edge.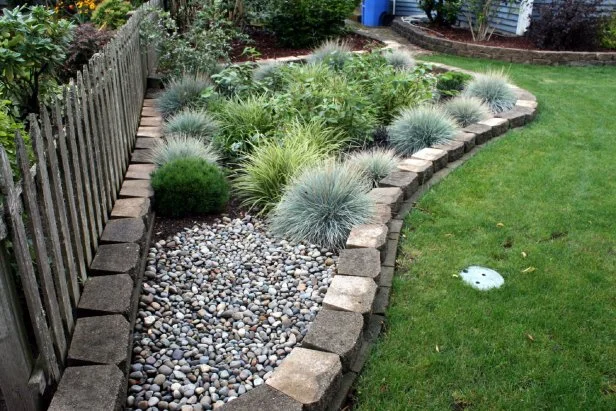
Credit: www.hgtv.com
Laying The Bricks
Creating a brick garden edge on a sloped flowerbed enhances its beauty and structure. Start by measuring the slope and laying a sturdy foundation. Arrange bricks uniformly, ensuring they follow the natural curve of the slope for an elegant finish.
Laying the bricks in a sloped flowerbed is an exciting step in garden design that can transform your outdoor space into a picturesque landscape. This process requires precision and patience, ensuring that each brick is securely placed to withstand the elements and enhance the beauty of your garden. As you lay the bricks, consider the slope and how it affects the alignment and stability of your garden edge. The following tips will guide you through aligning the first layer, securing bricks with mortar, and creating a stable structure.Aligning The First Layer
Begin by visualizing the path your brick edge will take. A well-planned layout is key to achieving a straight and aesthetically pleasing line. Position the first brick at the lowest point of your slope, using a level to ensure accuracy. This sets the tone for the entire edge, so double-check your measurements. Adjust the angle slightly to accommodate the slope, keeping the bricks snugly against each other. This prevents gaps and maintains uniformity.Securing Bricks With Mortar
Mix mortar to a thick consistency, ensuring it can hold the weight of the bricks. Avoid adding too much water, which can weaken the mixture. Apply mortar generously under each brick, pressing down firmly to secure it in place. This step is crucial for stability, especially on uneven terrain. Check the alignment as you go, correcting any shifts immediately. Mortar allows some flexibility, so use it to your advantage.Creating A Stable Structure
Consider the overall stability of your garden edge. A slight overlap or staggered pattern can increase durability. Use a rubber mallet to tap each brick into place, ensuring a tight fit. This reduces movement and enhances the structure’s strength. Finish by smoothing any excess mortar, reinforcing the edges for added support. A stable brick edge not only looks great but also withstands the test of time. Think about how this garden edge can frame your flowers, drawing attention to their colors and textures. Could this be the detail that elevates your outdoor space?Finishing Touches
Crafting a charming brick garden edge on a sloped flowerbed enhances visual appeal and prevents soil erosion. Begin with leveling the slope and laying bricks in a staggered pattern for stability. Fill gaps with soil or mulch to integrate seamlessly with your garden design.
Designing a brick garden edge in a sloped flowerbed can transform your outdoor space into a picturesque haven. Once you’ve laid the bricks, it’s time to add those all-important finishing touches. These final steps not only enhance the aesthetic appeal but also ensure the longevity and functionality of your garden edge. Let’s dive into the details to make your garden edge truly stand out.Filling Gaps And Seams
After laying the bricks, it’s common to find small gaps or seams between them. These can affect the stability and appearance of your garden edge. To fill these gaps, use a mixture of sand and soil. Simply sprinkle the mixture over the bricks and sweep it into the seams. This not only secures the bricks but also gives a neat finish. If you find larger gaps, consider using a mortar mix for added stability.Leveling And Adjusting
Even on a slope, your brick edge needs to maintain a level appearance. Take a few moments to assess the alignment of each brick. Use a spirit level to check for any uneven areas. Gently tap the bricks with a rubber mallet to adjust their position. It’s a delicate process but worth it for a professional finish. Remember, a well-leveled edge prevents soil from spilling over and keeps your plants in place.Adding Decorative Elements
This is where your creativity can shine. Decorative elements can enhance the beauty of your brick garden edge. Consider adding small solar lights along the edge for a magical evening glow. You might also plant creeping plants between the bricks for a natural touch. Personal touches like colorful tiles or garden ornaments can add character. What unique additions will you make to reflect your style? By focusing on these finishing touches, you’ll not only achieve a polished look but also create a garden space that’s truly yours. Take pride in your work and enjoy the process of bringing your garden vision to life.Maintenance Tips
Designing a brick garden edge in a sloped flowerbed involves careful planning. Choose uniform bricks for consistent style. Ensure the foundation is level to prevent shifting over time.
Maintaining a brick garden edge on a sloped flowerbed is crucial. It keeps your garden looking neat and prevents issues over time. Regular maintenance ensures longevity and beauty. Here are some essential tips to help you.Preventing Erosion
Erosion can damage your brick edge. Use mulch to stabilize the soil. Mulch absorbs water and minimizes erosion. Install drainage solutions to direct water flow. This prevents soil washout around bricks. Check the slope regularly for signs of erosion.Repairing Damaged Bricks
Inspect your bricks for cracks or chips. Replace damaged bricks promptly. Remove the broken brick carefully. Place a new brick in its spot. Ensure the new brick aligns with others. Secure it with mortar for stability. Regular checks prevent bigger problems.Seasonal Care
Seasonal changes affect your brick edge. In spring, clear debris and check for damage. In summer, ensure proper drainage to avoid water damage. In fall, remove leaves and inspect for erosion. In winter, protect bricks from frost by covering them. Regular care keeps your garden edge strong all year.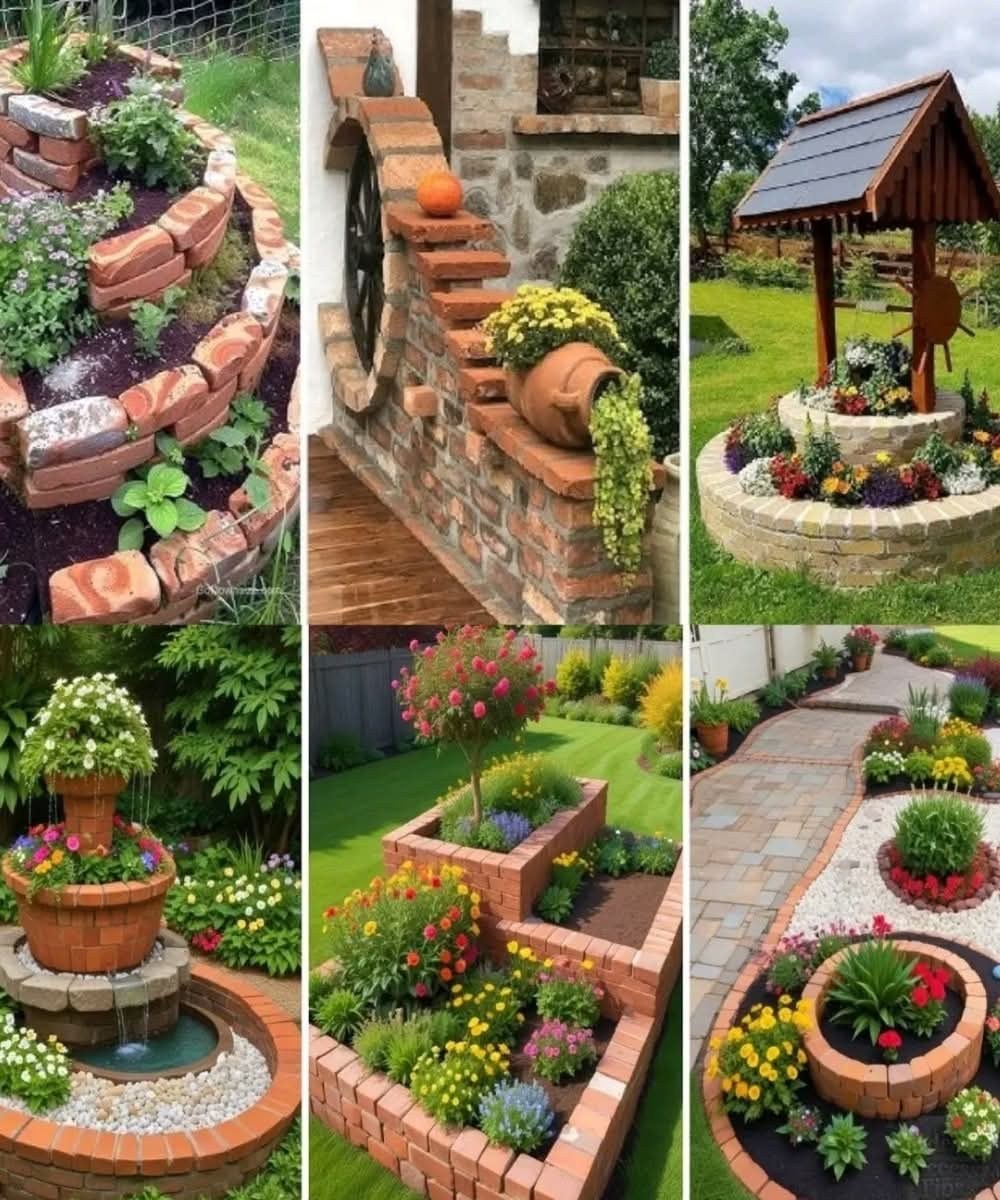
Credit: www.facebook.com
Frequently Asked Questions
How To Start Designing A Brick Edge?
Start by measuring the slope and deciding the edge’s layout. Select durable bricks that complement your garden’s style. Plan the design, ensuring stability and drainage. Prepare the ground, removing debris and leveling the slope. Arrange bricks carefully, maintaining a consistent pattern for a neat appearance.
What Tools Are Needed For Brick Edging?
You’ll need a shovel, level, rubber mallet, and a tape measure. A garden trowel is useful for leveling the ground. Gloves protect your hands during installation. A wheelbarrow aids in transporting bricks. These tools ensure the bricks are laid evenly and securely on the slope.
How To Ensure Bricks Stay In Place?
Ensure bricks stay in place by preparing a solid base. Use a layer of sand or gravel for stability and drainage. Lay bricks tightly together, checking alignment with a level. Use a rubber mallet to secure them. Regularly check for shifts and adjust as needed.
Can Brick Edging Prevent Soil Erosion?
Yes, brick edging helps prevent soil erosion on slopes. It acts as a barrier, reducing soil displacement during heavy rain. By providing structure, it stabilizes the slope and keeps plants secure. Proper installation ensures effective erosion control, protecting your garden from damage.
Conclusion
Creating a brick garden edge on a sloped flowerbed can elevate your garden’s charm. It offers a neat, defined space for plants to thrive. A well-planned design ensures durability and visual appeal. Carefully select the bricks for style and function.
Remember to measure the slope accurately. This prevents future issues. Ensure proper drainage to avoid water problems. Take time to lay each brick precisely. This effort pays off with a stunning garden edge. Patience and planning lead to a beautiful result.
Enjoy your refreshed garden space. It brings satisfaction and beauty to your outdoor area.