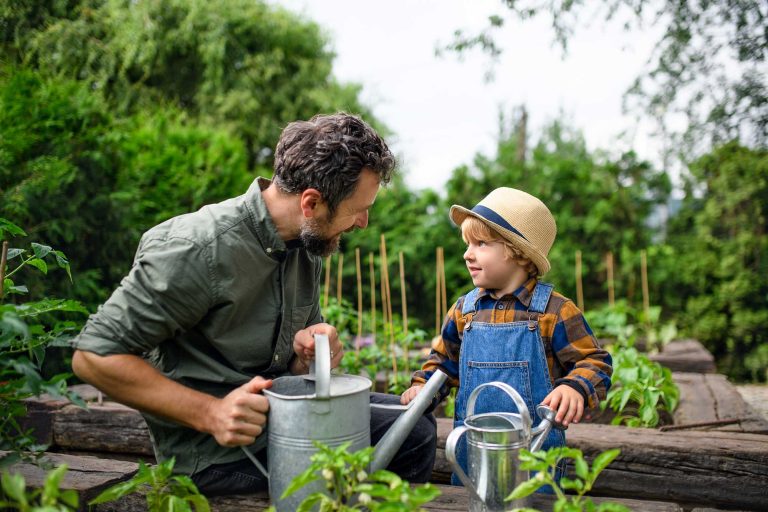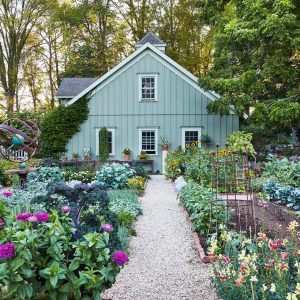
Imagine stepping out into your backyard and being greeted by vibrant blooms and fresh herbs, all nestled within charming wooden planter boxes. You don’t need a sprawling garden to achieve this; a wood planter box garden can transform even the smallest space into a lush oasis.
Whether you’re a seasoned gardener or just starting, building your own wood planter boxes is a rewarding project that brings life to your outdoor area. You’ll discover the step-by-step process to create these beautiful, functional containers. From selecting the right wood to ensuring proper drainage, each detail is crafted to help you nurture a thriving garden.
Get ready to turn your outdoor space into a sanctuary of color and growth, where your plants can flourish and you can unwind. Dive in to learn how to make your gardening dreams a reality.
Choosing The Right Wood
Selecting the perfect wood is crucial for a sturdy planter box. Cedar and redwood resist rot and weather well. Pine is budget-friendly but requires treatment for longevity.
Choosing the right wood is crucial for building a durable planter box. Wood type affects the planter’s longevity, appearance, and resistance to elements. Select wood that withstands moisture and pests.Types Of Wood Suitable For Planter Boxes
Several wood types fit planter box needs. Cedar is a popular choice. It resists decay and insects naturally. Redwood offers similar benefits but can be pricier. Pine is affordable and easy to find. But it may not last as long without treatment. Cypress is another option. It is durable and has natural oils that repel insects.Pros And Cons Of Treated Vs. Untreated Wood
Treated wood lasts longer in wet conditions. Chemicals protect it from rot and insects. This makes it a practical choice for outdoor use. But some people worry about chemicals leaching into the soil. Untreated wood is chemical-free and safer for organic gardening. It may not last as long and can be prone to decay. Consider your priorities and garden needs before choosing.
Credit: www.youtube.com
Designing Your Planter Box
Crafting a wood planter box garden can enhance any outdoor space. Choose durable wood and measure carefully for precise cuts. Assemble the pieces securely, ensuring proper drainage for plant health.
Designing Your Planter Box Crafting a planter box tailored to your garden’s needs can be a fulfilling project. It’s your chance to blend creativity with functionality. Get ready to design a planter box that suits your space and vision.Determining Size And Shape
The first step is to decide how big your planter box should be. Consider the space you have available and the type of plants you want to grow. A compact square box might be perfect for a small patio, while a long rectangular box can accommodate more plants on a larger balcony. Think about the depth of the box as well. Some plants need deeper roots, while others thrive in shallow soil. Measure the area where you plan to place the planter, and choose dimensions that will fit comfortably without crowding your space.Incorporating Drainage Solutions
Proper drainage is crucial to prevent water from pooling and damaging plant roots. Without it, even the best-designed planter box might fail. Drill holes in the bottom of your box to ensure water can escape easily. Consider adding a layer of gravel or small stones at the bottom before adding soil. This extra step helps improve drainage and keeps soil from blocking the holes. Ask yourself if your planter will be on a surface that can handle excess water, or if you need a tray to catch the runoff. By focusing on these design elements, you create a sturdy and effective planter box. What unique elements will you include to make your box stand out?Gathering Necessary Tools And Materials
Select quality wood and nails for a sturdy planter box. Gather a saw, drill, and measuring tape to ensure precise construction. Proper tools and materials lead to a successful garden project.
Gathering the necessary tools and materials is the first step towards creating your own wood planter box garden. This stage is crucial as it sets the foundation for a successful build. Having the right tools and materials not only makes the process smoother but also ensures that your planter box is sturdy and long-lasting. Whether you’re a seasoned carpenter or a beginner, understanding what you need before you start can save you time and frustration. Let’s dive into the essential tools and additional materials you’ll need for this project.Essential Tools For Woodworking
To create a sturdy wood planter box, you’ll need some basic woodworking tools. A saw is essential for cutting your wood pieces to size. Depending on your comfort level and the tools available, you might use a hand saw or a power saw. I remember my first time using a power saw—it was intimidating, but it made the process so much faster. A drill is another indispensable tool. You’ll use it to make holes for screws, ensuring that your planter box is held together securely. Don’t forget the measuring tape to ensure all your pieces are cut accurately. A simple mistake in measurement can lead to a wonky box, which is something you want to avoid. Finally, a screwdriver or a power drill with screwdriver bits will help you assemble the box. This tool will be your best friend during assembly, making it much easier to fasten everything together tightly.Additional Materials For Construction
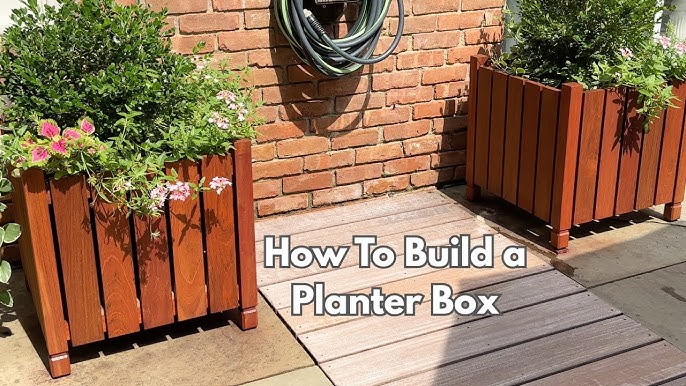
Once you have your tools, gathering the right materials is the next step. Start with selecting the type of wood you’ll use. Cedar and redwood are popular choices because they resist rot and withstand outdoor conditions well. Consider how the planter box will fit into your garden space and choose wood that complements your aesthetics. You’ll also need screws or nails to hold everything together. Galvanized screws are a good choice as they resist rust. It’s worth investing in quality fasteners to ensure durability. Don’t overlook the wood sealant. This is important for protecting your planter box from moisture, extending its life. Applying a good sealant can make a big difference, especially if you live in a rainy area. Lastly, consider a liner to protect the wood from soil and water. A simple plastic liner can do wonders in preserving the wood’s integrity. It’s a small addition that can significantly enhance the longevity of your planter box. What other materials have you found essential for your woodworking projects?Step-by-step Construction
Gather wood, nails, and a hammer to start your wood planter box garden. Cut wood to size and assemble. Secure with nails for stability, then add soil and plants. Enjoy your new garden space!
Building a wood planter box garden can be both rewarding and functional, offering a unique way to grow plants even in limited space. It’s a project that lets you unleash your creativity while getting your hands a little dirty. The construction process might seem daunting, but breaking it down into manageable steps makes it easily achievable for any DIY enthusiast.Cutting The Wood Panels
Begin by selecting the right wood for your planter box. Cedar and redwood are popular choices because they resist rot. Measure the desired dimensions of your planter box and mark the wood accordingly. Use a saw to cut the wood panels to size, ensuring each piece fits snugly together. You might find it helpful to lay out the pieces on the ground before cutting to visualize the final structure. Always double-check measurements to avoid waste and ensure precision.Assembling The Box
Once the panels are cut, it’s time to bring the box to life. Begin by aligning the panels on a flat surface. Start with the base and attach the sides one by one. Use wood screws to join the panels, ensuring they’re tightly secured. A power drill can speed up this process, saving time and effort. Remember, a sturdy base is essential for a planter box that will last for years.Securing The Joints
Strong joints are the backbone of your planter box. Apply wood glue along the edges before screwing them together for added strength. This step is crucial, especially if you plan to move the box around. Reinforce the corners with metal brackets for extra stability. This not only strengthens the structure but also adds a touch of modern design. Ask yourself, how much weight will this box need to hold? Your answer will guide you in deciding how much reinforcement is necessary. These steps will guide you in constructing a robust and attractive wood planter box. The satisfaction of seeing your plants thrive in something you’ve built is incomparable. Enjoy the process and watch your garden grow!Finishing Touches
Ensure the planter box is sturdy by sanding edges for a smooth finish. Apply a weatherproof sealant to protect against the elements. Add decorative touches like paint or stencils to personalize your garden.
Adding the finishing touches to your wood planter box is like signing your name on a masterpiece. It’s the final step that transforms your project from good to great. By focusing on the details, you ensure longevity and create a polished look that stands out in your garden.Sanding And Smoothing Surfaces
Sanding is crucial for creating a sleek and safe planter box. Start with a medium-grit sandpaper to remove any rough edges or splinters. Follow up with a finer grit for a smooth finish that feels good to the touch. You might be tempted to skip this step, but don’t underestimate its importance. A well-sanded surface not only looks better but also reduces the risk of injury. Plus, plants thrive in a clean, smooth environment without any wood fibers interfering with their growth.Applying Protective Coatings
Protective coatings are essential to shield your wood from the elements. Consider using a wood sealant or outdoor varnish to prevent moisture damage. This is especially important if your planter box will be exposed to rain or direct sunlight. Before applying, ensure the surface is clean and dry. Use a brush or roller to apply an even layer, and let it dry completely. Repeat if necessary for extra protection. Have you thought about the aesthetic you want for your garden? Different coatings can give your planter box a glossy, matte, or natural finish. Choose one that complements your garden’s style and your personal taste. By paying attention to these finishing touches, your wood planter box will not only last longer but also become a standout feature in your garden.Planting In Your Planter Box
Create a wooden planter box for a charming garden addition. Select quality wood, measure, cut, and assemble carefully. Ensure proper drainage and fill with nutrient-rich soil for healthy plant growth.
Planting in your planter box is a rewarding endeavor. Once you’ve built your wooden planter box, it’s time to fill it with life. The choices you make now will impact the health and beauty of your garden. Let’s explore how to select the right plants, prepare the perfect soil mix, and arrange your plants for maximum impact.Choosing Suitable Plants
The first step is to pick plants that will thrive in your environment. Consider the amount of sunlight your planter box receives. Some plants, like tomatoes and peppers, need plenty of sun. Others, such as lettuce and spinach, prefer some shade. Think about the space your plants need to grow. Herbs like basil and parsley can fit snugly, while zucchini and squash require more room. Choose plants that complement each other in growth habits and water needs.Preparing Soil Mixtures
The right soil is critical for healthy plants. Use a mix of good-quality potting soil, compost, and perlite or sand for drainage. This blend provides nutrients and ensures your plants won’t sit in waterlogged soil. Ensure the soil is loose and fluffy. It should crumble easily in your hands. This texture allows roots to spread and grow freely, promoting robust plant health.Arranging Plants Effectively
Arrange your plants thoughtfully for both aesthetics and function. Place taller plants at the back of the planter box, with medium-height plants in the middle and shorter ones at the front. This not only looks pleasing but ensures all plants get adequate sunlight. Consider grouping plants with similar watering needs together. This makes it easier to manage their care. Companion planting, where certain plants benefit each other, can also be a smart strategy. For example, planting marigolds near vegetables can deter pests. By focusing on these elements, you can create a vibrant and productive garden in your wooden planter box. What will you plant first?Maintenance And Care
Regular cleaning ensures your wood planter box garden remains healthy. Check for rot and pests to maintain its durability. Applying a protective sealant helps preserve the wood against weather elements.
Maintaining your wood planter box garden ensures healthy growth and vibrant blooms. Regular care helps plants thrive and keeps your garden looking its best. Focus on water, pest control, and disease prevention for optimal results.Watering Techniques
Watering correctly is vital for plant health. Check soil moisture before watering. Insert your finger into the soil. If it feels dry, water the plants. Use a watering can or a hose with a gentle spray setting. Water at the base of the plants. Avoid wetting leaves to prevent disease. Water early in the morning or late in the afternoon. This helps prevent evaporation.Preventing Pests And Diseases
Keep your planter box clean to deter pests. Remove fallen leaves and debris regularly. Inspect plants for signs of pests. Look for holes in leaves or discolored spots. If you notice pests, use natural remedies first. Consider neem oil or insecticidal soap. Rotate plant types each season. This reduces the risk of disease. Ensure good air circulation between plants. This helps prevent fungal infections.
Credit: www.oliveandjunehome.com
Sustainable Gardening Practices
Build a wood planter box garden using recycled materials to promote sustainable gardening. Choose untreated wood for safety and durability. Ensure proper drainage by adding holes and a layer of gravel.
Sustainable gardening practices offer many benefits. They reduce waste and conserve resources. Building a wood planter box garden embraces these principles. It enhances your garden’s beauty and sustainability.Using Recycled Materials
Use old wood pallets for your planter box. They are sturdy and often free. Check local stores for discarded pallets. Ensure the wood is untreated to avoid chemicals. Clean the wood before use to ensure safety. Recycled materials lower costs and environmental impact. For added flair, consider repurposing wooden crates. They offer a rustic look and are easy to find. Ask local grocers for unused crates. This adds character to your garden.Promoting Eco-friendly Gardening
Fill your planter box with organic soil. It is free from harmful chemicals. Organic soil supports healthy plant growth. This choice benefits both plants and the earth. Use natural fertilizers like compost. Compost enriches soil and reduces landfill waste. Start a small compost bin at home. It is easy and eco-friendly. Select native plants for your garden. They require less water and care. Native plants attract local pollinators, supporting biodiversity. These choices create a thriving, sustainable garden. Incorporate a drip irrigation system. It conserves water and supports plant health. Drip irrigation delivers water directly to roots. This minimizes waste and maximizes efficiency.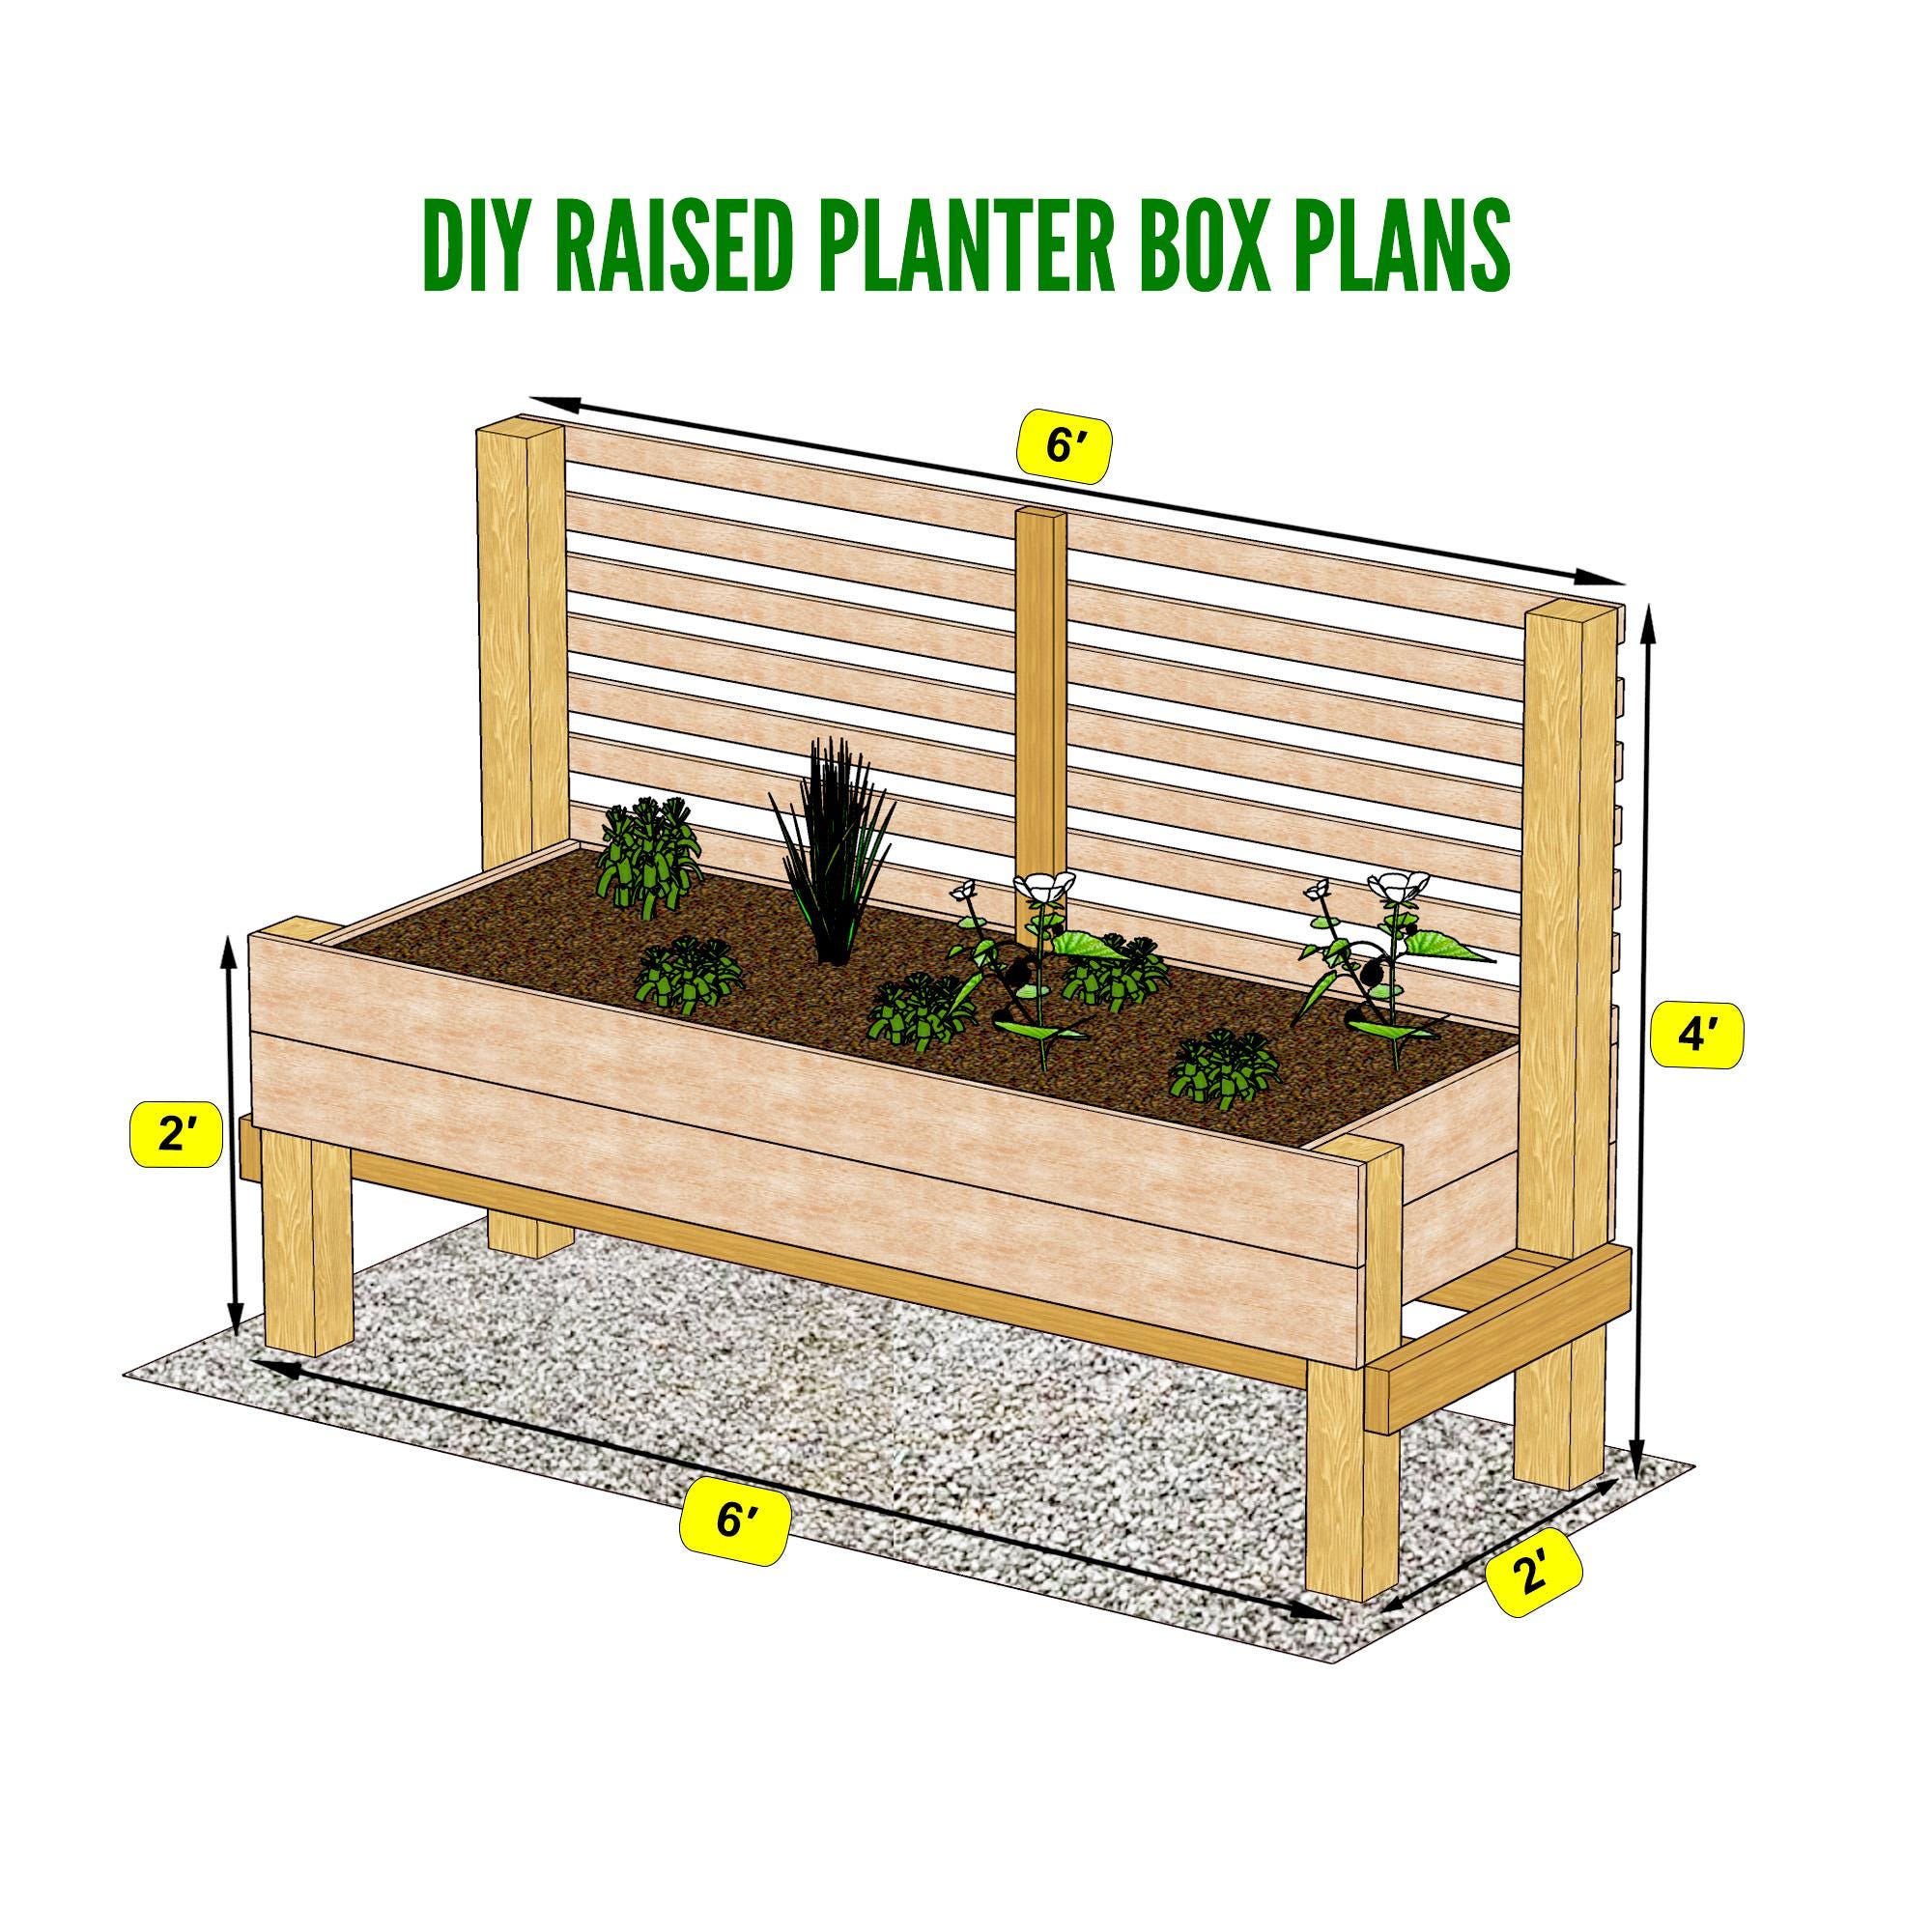
Credit: www.etsy.com
Frequently Asked Questions
What Materials Are Needed For A Wood Planter Box?
To build a wood planter box, you’ll need wood planks, screws, a drill, and a saw. You might also need a measuring tape and sandpaper for finishing touches. Choose rot-resistant wood, like cedar or redwood, for durability. These materials ensure your planter box is sturdy and lasts long.
How Do I Ensure Proper Drainage?
Proper drainage is crucial for plant health. Drill holes at the bottom of the planter box to allow excess water to escape. Use gravel or small stones at the base to improve drainage. This prevents root rot and keeps your plants healthy and thriving.
What Wood Is Best For Planter Boxes?
Cedar and redwood are excellent choices for planter boxes due to their natural resistance to rot and pests. They withstand various weather conditions and last longer without chemical treatments. These woods provide durability and an appealing aesthetic for your garden project.
Can I Customize The Planter Box Size?
Yes, you can customize the size to fit your space and plant needs. Measure your area and adjust the dimensions accordingly. Ensure the box is deep enough for roots to grow. Customization helps maximize space usage and accommodates diverse plant varieties.
Conclusion
Creating a wood planter box garden is rewarding and fun. You craft a space for flowers, herbs, or veggies. It can beautify any yard or balcony. The process is simple and enjoyable. Start with quality wood, sturdy tools, and good soil.
These elements ensure success. With patience, your garden will thrive. Water and sunlight complete the picture. Watch plants grow and enjoy the green view. Building a planter box is a great project for anyone. Get outside, get creative, and watch your garden flourish.
Perfect for beginners and seasoned gardeners alike. Happy gardening!