Imagine stepping into your backyard and being greeted by a vibrant sea of daylilies, their colors dancing in the sunlight. You can create this stunning scene with a well-designed daylily garden.
Daylilies are not only beautiful but also easy to care for, making them a perfect choice for gardeners of all skill levels. This guide is crafted with you in mind, ensuring you have the tools and tips to transform your outdoor space into a floral paradise.
Have you ever wondered what secrets lie behind a captivating garden design? Keep reading to discover how you can harness the beauty of daylilies to create a breathtaking garden that invites admiration and tranquility.
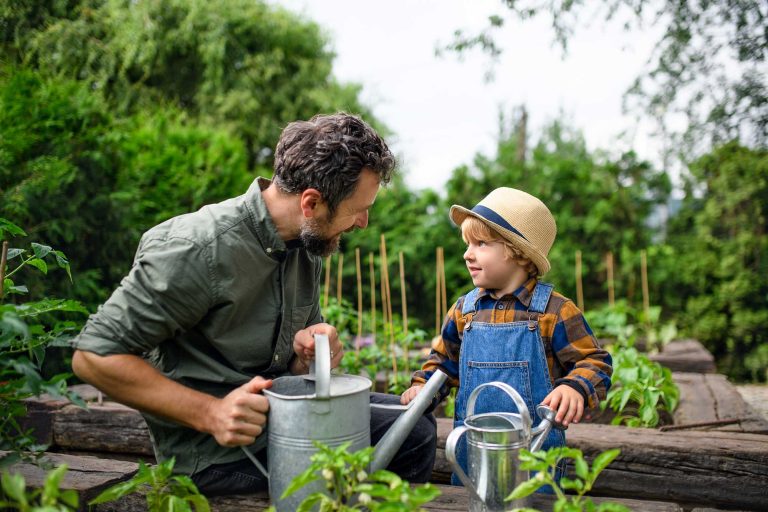
Choosing The Right Location
Selecting a sunny spot is crucial for a thriving daylily garden. Ensure the area receives at least six hours of sunlight. Consider well-drained soil to prevent root rot and promote healthy growth.
Designing a daylily garden starts with selecting the ideal spot. The location determines the health and beauty of your plants. It influences growth, bloom, and overall garden success. Choosing the right location involves understanding several key factors. Each plays a crucial role in creating a thriving daylily garden.Sunlight Requirements
Daylilies love sunlight. They need at least six hours of direct sun daily. Full sun ensures vibrant blooms. Partial shade can result in fewer flowers. Find a spot where the sun shines most of the day. Avoid areas with too much shade. Trees or large structures can block essential sunlight. Ensure the chosen location offers ample light for your daylilies.Soil Conditions
Daylilies are not picky about soil. They thrive in well-drained, fertile soil. Check soil quality before planting. A simple soil test can help. It identifies pH levels and nutrients. Ideal soil is slightly acidic to neutral. Amend poor soil with compost or organic matter. This enriches the soil and supports healthy growth.Drainage Considerations
Proper drainage is vital for daylilies. Waterlogged soil can cause root rot. Ensure the location has good drainage. Avoid areas that collect rainwater. Raised beds can improve drainage. Test the site by watering and observing. Water should drain quickly and not pool. Good drainage keeps roots healthy and plants thriving.
Credit: gardeningwithsharon.com
Selecting Daylily Varieties
Designing a daylily garden involves choosing diverse colors and bloom times for continuous beauty. Consider plant height and foliage texture to create depth and contrast in your garden. Mix early, mid, and late bloomers for a vibrant display throughout the growing season.
Designing a daylily garden can be a delightful endeavor, especially when you consider the vast range of daylily varieties available. Choosing the right daylily varieties is crucial to creating a vibrant and dynamic garden. This involves focusing on factors like color, bloom time, and the height of the plants to ensure a harmonious and visually appealing landscape.Color Selection
Color is the first impression your garden will make. Daylilies come in a kaleidoscope of colors ranging from soft pastels to vivid hues. Think about the mood you want to create—is it a tranquil retreat with soothing whites and pinks or a lively spectacle with bold reds and oranges? Consider how these colors complement your existing landscape. You might mix contrasting colors for a vibrant effect or group similar shades for a more cohesive look. Remember, your garden is a reflection of your personality, so let your creativity shine through.Bloom Time Coordination
To ensure your daylily garden remains vibrant throughout the season, it’s essential to coordinate bloom times. Daylilies can bloom early, mid, or late in the season. Selecting a mix of these ensures continuous color and interest in your garden. Create a simple bloom schedule. This can help you visualize when each variety will flower and how your garden will look over time. Imagine the joy of a garden that evolves each week, offering new surprises as the season progresses.Height And Space Planning
Height and space are critical elements in garden design. Daylilies vary in height, with some dwarf varieties growing only a foot tall, while others can reach up to four feet. Consider the height of each variety to add layers and depth to your garden. Taller varieties can be placed at the back of a border or as a focal point, while shorter ones can edge paths or fill in the front. Don’t forget to give each plant enough room to grow. Crowded plants can struggle and won’t showcase their full potential. By focusing on these aspects, you can design a daylily garden that’s not only beautiful but also personalized to your taste. What vision will your garden bring to life?Preparing The Soil
Designing a daylily garden is an exciting endeavor that begins with preparing the soil for your vibrant blooms. The soil is the foundation of your garden, influencing everything from growth to bloom quality. Investing time in this phase ensures a flourishing daylily garden that will bring joy year after year. Let’s delve into the essentials of soil preparation, focusing on soil pH testing, amendments, and controlling weeds and pests.
Testing Soil Ph
Understanding the pH level of your soil is crucial as it affects nutrient absorption. Most daylilies thrive in slightly acidic to neutral soil, with a pH between 6.0 and 6.8. You can easily test your soil using a pH meter or a DIY kit from your local garden center. If you find the pH is off, don’t panic. Adjusting it is straightforward. For acidic soils, adding lime can help, whereas sulfur can lower the pH in alkaline soils.
Amending The Soil
Healthy soil is rich in organic matter. Consider adding compost or well-rotted manure to improve texture and nutrient content. This amendment also helps with drainage, ensuring that your daylilies don’t stand in waterlogged soil. Adding organic matter is like giving your plants a buffet of nutrients. Make sure to mix it well into the top layer to encourage root penetration and growth.
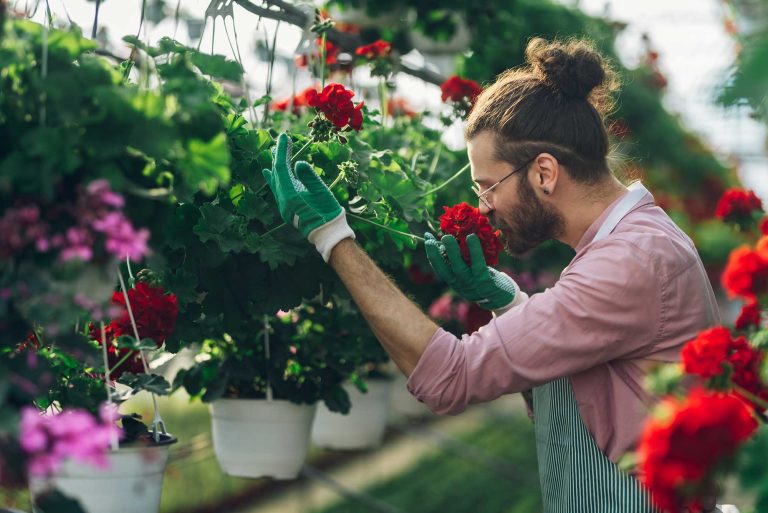
Weed And Pest Control
Weeds and pests can be a gardener’s nightmare, but with a proactive approach, you can keep them at bay. Start by clearing the garden area of any existing weeds. A thorough weeding session can save you countless hours of frustration later. Consider using mulch as a barrier; it not only suppresses weeds but also retains moisture and regulates soil temperature. Don’t forget to inspect your garden regularly for pests and opt for organic methods like neem oil or insecticidal soap to maintain a healthy ecosystem.

Credit: www.youtube.com
Planting Techniques
Creating a daylily garden involves choosing vibrant varieties and arranging them for continuous bloom. Consider color combinations and bloom times for a stunning display. Space plants adequately for growth and health.
Planting Techniques Designing a daylily garden can be a rewarding experience. Knowing the right planting techniques ensures your flowers thrive. Daylilies are hardy, yet planting them correctly boosts their health and beauty.Spacing And Depth
Proper spacing prevents overcrowding, allowing each plant enough room to grow. Space daylilies 18 to 24 inches apart for best results. Depth matters too. Plant the crown just below the soil surface. Avoid planting too deep to prevent rot.Watering After Planting
Watering is crucial for new daylilies. After planting, give them a good soak. Ensure water reaches the roots. This helps establish the plants in their new home. Avoid overwatering to prevent fungal issues.Mulching For Moisture Retention
Mulch retains moisture and suppresses weeds. Apply a 2-inch layer around your daylilies. Organic mulch like wood chips works well. Mulching keeps soil temperature stable, benefiting your plants.Maintaining Your Daylily Garden
Designing a daylily garden involves choosing vibrant colors and arranging plants for visual appeal. Space plants adequately to ensure healthy growth and easy access for maintenance. Select a variety of daylily species to enjoy blooms throughout the growing season.
Maintaining Your Daylily Garden Creating a stunning daylily garden is just the beginning. To ensure its vibrant blooms continue to grace your landscape, ongoing care and maintenance are essential. Let’s explore some key practices that will keep your daylilies thriving and your garden looking its best.Regular Watering Practices
Watering is crucial for the health of your daylilies. These plants thrive when they receive about an inch of water per week, either from rainfall or supplemental watering. Consider using a soaker hose or drip irrigation to deliver water directly to the roots, reducing evaporation and ensuring efficient use of water. Always water early in the morning to minimize the risk of fungal diseases that can occur when foliage remains wet overnight.Fertilizing For Growth
Fertilizing your daylilies can significantly boost their growth and bloom production. Use a balanced, slow-release fertilizer in early spring as the plants begin to grow. A mid-season boost with a liquid fertilizer can also promote continuous blooming. Remember, more isn’t always better; over-fertilizing can lead to lush foliage at the expense of blooms, so follow package recommendations carefully.Pruning And Deadheading
Regular pruning and deadheading keep your daylilies looking tidy and encourage more blooms. Remove spent flowers by pinching them off at the base to prevent seed formation, which can sap the plant’s energy. In late fall, trim back the foliage to about 4-6 inches above the ground to tidy up the garden for winter. This practice also helps to reduce the risk of pests and diseases overwintering in your garden. Maintaining your daylily garden doesn’t have to be a chore. With these simple, actionable tips, you can enjoy a colorful, thriving garden season after season. Are there any specific challenges you’ve faced with your daylilies? Share your experiences in the comments!Dealing With Common Issues
Creating a beautiful daylily garden involves tackling common issues like pests and overcrowding. Regular maintenance and proper spacing can help ensure healthy blooms. Planting in well-drained soil and providing adequate sunlight are crucial for vibrant daylilies.
Designing a daylily garden is a rewarding experience, but it comes with its own set of challenges. From pesky insects to nutrient issues, there are common problems you’ll likely encounter. Understanding these issues and knowing how to tackle them will ensure your daylilies thrive and add vibrant beauty to your garden.Pest Management
Daylilies are relatively resilient, but certain pests can still cause havoc. Aphids, spider mites, and thrips are the usual suspects. Regular inspection is key. Catch them early before they multiply. You might notice leaves curling or becoming discolored. Consider using natural remedies like neem oil or insecticidal soap. These are effective yet gentle on your plants. Another tip is to introduce beneficial insects like ladybugs. They can help keep pest populations in check.Disease Control
Diseases like leaf streak and crown rot can affect daylilies. Keep an eye out for yellow streaks or mushy stems. To reduce disease spread, ensure proper spacing for air circulation and remove any infected foliage immediately. Fungicides can be useful but opt for organic ones if possible. Don’t forget the basics: clean garden tools and avoid overhead watering. This minimizes moisture on leaves, reducing the risk of fungal infections.Addressing Nutrient Deficiencies
Daylilies are not too demanding, but they do need the right nutrients. If blooms are sparse or leaves are pale, your soil may lack essential nutrients. Conduct a soil test to identify deficiencies. Adding compost or well-balanced fertilizers can rejuvenate your soil. Look for signs like weak growth or poor flowering. These indicate a need for nutrients like phosphorus or nitrogen. Remember, a healthy soil means a thriving garden.Enhancing Garden Aesthetics
Designing a daylily garden offers a chance to boost your yard’s beauty. Daylilies are vibrant and easy to care for. Their colorful blooms can transform any space. But there’s more to a garden than flowers. You can elevate its charm with thoughtful design choices. Explore ways to enhance garden aesthetics and create a stunning view.
Incorporating Companion Plants
Companion plants can complement daylilies beautifully. Select plants that offer contrast in color and texture. Consider using hostas for their lush green leaves. They create a pleasing backdrop for daylilies. Ferns work well too, adding delicate fronds to your garden. Choose plants that bloom at different times. This ensures continuous color and interest.
Creating Focal Points
Focal points draw the eye and add structure to a garden. You can use unique daylily varieties as focal points. Their striking colors can stand out in any garden. Place them in key areas like the center or corners. Use garden ornaments or sculptures to add interest. A birdbath or small fountain can become an attractive feature.
Using Decorative Elements
Decorative elements can enhance garden aesthetics further. Use pathways to guide visitors through your garden. Materials like stone or wood give a natural feel. Install garden lighting for evening charm. Soft lights can highlight daylilies and pathways. Add seating for relaxation and enjoyment. A bench can invite people to stay and admire the view.

Credit: www.youtube.com
Frequently Asked Questions
What Are Ideal Daylily Garden Designs?
Ideal daylily garden designs include raised beds, borders, and island plantings. Consider color combinations and bloom times for continuous interest. Use companion plants for texture and height variation. Ensure your design allows easy access for maintenance and viewing. Incorporate paths for walking and areas for seating to enjoy the blooms.
How To Choose Daylily Varieties?
Choose daylily varieties based on bloom color, size, and season. Consider foliage type and height for garden balance. Look for disease-resistant and climate-suitable varieties. Mix early, mid, and late bloomers for prolonged flowering. Check local nurseries for recommendations suited to your region’s growing conditions.
When To Plant Daylilies?
Plant daylilies in early spring or late fall for optimal growth. Ensure soil temperature is above 55°F for root establishment. Early planting helps plants develop before summer heat. Fall planting allows roots to strengthen before winter. Avoid planting in extreme weather to prevent stress on young plants.
How To Maintain A Daylily Garden?
Maintain a daylily garden by watering regularly and ensuring well-drained soil. Fertilize in spring and mid-summer for growth. Remove spent blooms and yellow leaves for tidiness. Divide crowded clumps every 3-5 years to promote healthy flowering. Mulch to conserve moisture and control weeds.
Conclusion
Creating a daylily garden brings vibrant colors to your outdoor space. These hardy plants require minimal care and thrive in various climates. Choose a sunny spot with well-drained soil for best results. Mix different daylily varieties to enjoy a range of colors and blooms.
Regular watering and occasional fertilizing keep them healthy. Divide plants every few years for continued growth. Enjoy watching the garden transform with each season. Gardening offers relaxation and beauty, making daylilies a perfect choice. Start planning your garden today, and enjoy the rewards of your efforts!